Azure-Advanced-Networking
M01 - Unit 6 Configure DNS settings in Azure
Exercise scenario
In this unit, you will configure DNS name resolution for Contoso Ltd. You will create a private DNS zone named contoso.com, link the VNets for registration and resolution, and then create two virtual machines and test the configuration.
In this exercise, you will:
- Task 1: Create a private DNS Zone
- Task 2: Link subnet for auto registration
- Task 3: Create Virtual Machines to test the configuration
- Task 4: Verify records are present in the DNS zone
Note: An interactive lab simulation is available that allows you to click through this lab at your own pace. You may find slight differences between the interactive simulation and the hosted lab, but the core concepts and ideas being demonstrated are the same.
Estimated time: 25 minutes
Task 1: Create a private DNS Zone
-
Go to Azure Portal.
-
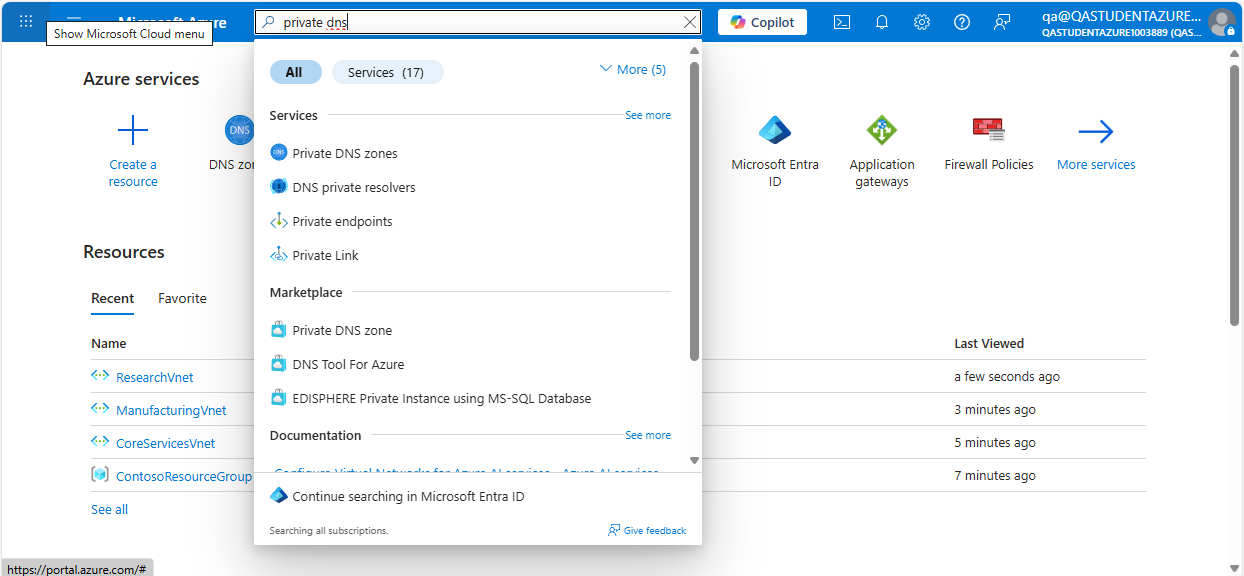
On the Azure home page, in the search bar, enter private dns, and then select Private DNS zones.
-
In Private DNS zones, select + Create.
-
Use the information in the following table to create the private DNS zone.
| Tab | Option | Value |
|---|---|---|
| Basics | Resource group | ContosoResourceGroup |
| Name | Contoso.com | |
| Tags | No changes required |
Important Note: If you are prompted that Contoso.com is reserved, Check that you are creating a Private DNS Zone and not a DNS Zone.
Select Review + create Wait for validation to complete: Review your settings and select Create
-
Wait until the deployment is complete, and then select Go to resource.
-
Verify that the zone has been created.
Task 2: Link subnet for auto registration
-
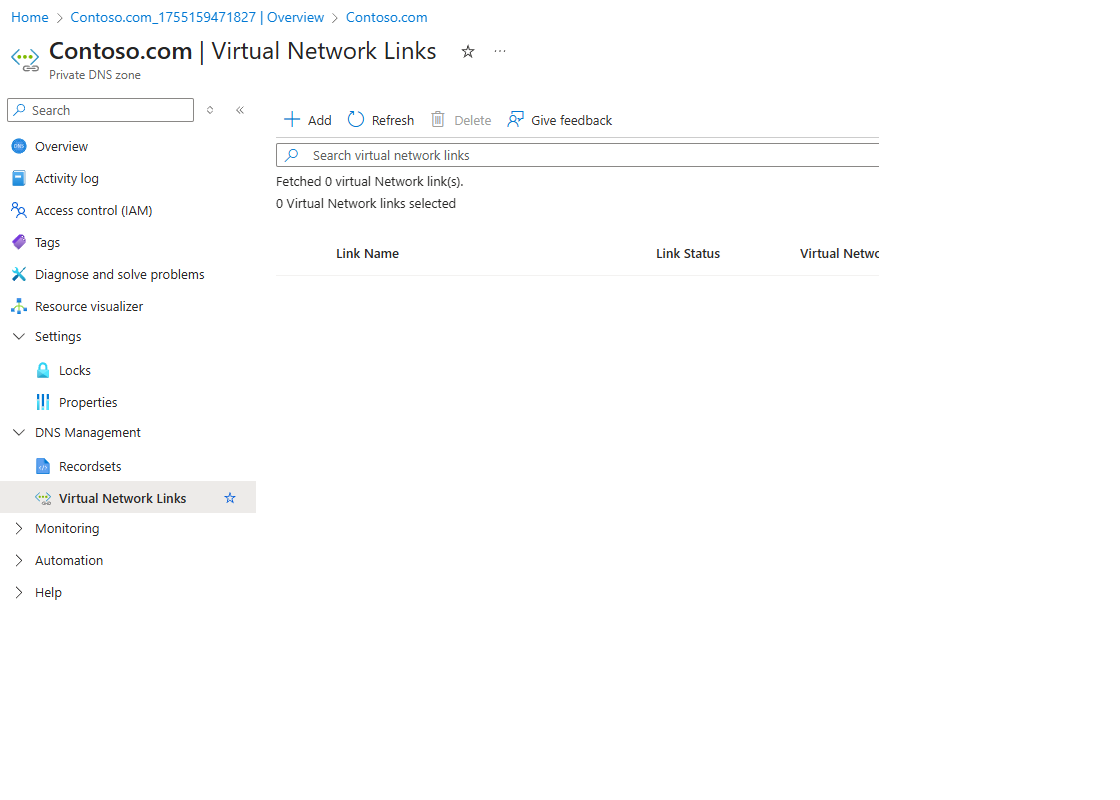
In Contoso.com, under DNS Management, select Virtual network links.
-
On Contoso.com | Virtual network links, select + Add.
- Use the information in the following table to add the virtual network link.
| Option | Value |
|---|---|
| Link name | CoreServicesVnetLink |
| Subscription | No changes required |
| Virtual Network | CoreServicesVnet (ContosoResourceGroup) |
| Enable auto registration | Selected |
| Review your settings and select Create. |
Note: You do not need to wait for completion, carry on with the next step.
- On Contoso.com | Virtual network links, select + Add.
| Option | Value |
|---|---|
| Link name | ManufacturingVnetLink |
| Subscription | No changes required |
| Virtual Network | ManufacturingVnet (ContosoResourceGroup) |
| Enable auto registration | Selected |
| Review your settings and select Create. |
- On Contoso.com | Virtual network links, select + Add.
| Option | Value |
|---|---|
| Link name | ResearchVnetLink |
| Subscription | No changes required |
| Virtual Network | ResearchVnet (ContosoResourceGroup) |
| Enable auto registration | Selected |
| Review your settings and select Create. |
-
Select Refresh: It may take upto 20 seconds before all 3 Network links show in the blade.
-
Verify that the CoreServicesVnetLink, ManufacturingVnetLink and the ResearchVnetLink has been created, and that auto-registration is enabled.
Task 3: Create Virtual Machines to test the configuration
In this section, you will create two test VMs to test the Private DNS zone configuration.
- In the Azure portal, select the Cloud Shell icon (top right). If necessary, configure the shell.
- Select PowerShell.
- Select No Storage Account required and your Subscription, then select Apply.
- Wait for the terminal to create and a prompt to be displayed.
-
On the toolbar of the Cloud Shell pane, select the Manage Files icon, in the drop-down menu, select Upload and upload the following files azuredeploy.json and azuredeploy.parameters.json into the Cloud Shell home directory one by one from the source folder C:\Allfiles\Exercises\M01.
- Deploy the following ARM templates to create the VMs needed for this exercise:
Note: You will be prompted to provide an Admin password. Use Pa55w.rd1234abc
   $RGName = "ContosoResourceGroup"

   New-AzResourceGroupDeployment -ResourceGroupName $RGName -TemplateFile azuredeploy.json -TemplateParameterFile azuredeploy.parameters.json
-
When the deployment is complete, go to the Azure portal menu, and then select Virtual Machines.
-
Verify that both virtual machines have been created.
Task 4: Verify records are present in the DNS zone
-
On the Azure Portal home page, select Private DNS zones.
-
On Private DNS zones, select contoso.com.
-
Verify that host (A) records are listed for both VMs under DNS Management, Recordsets, as shown:
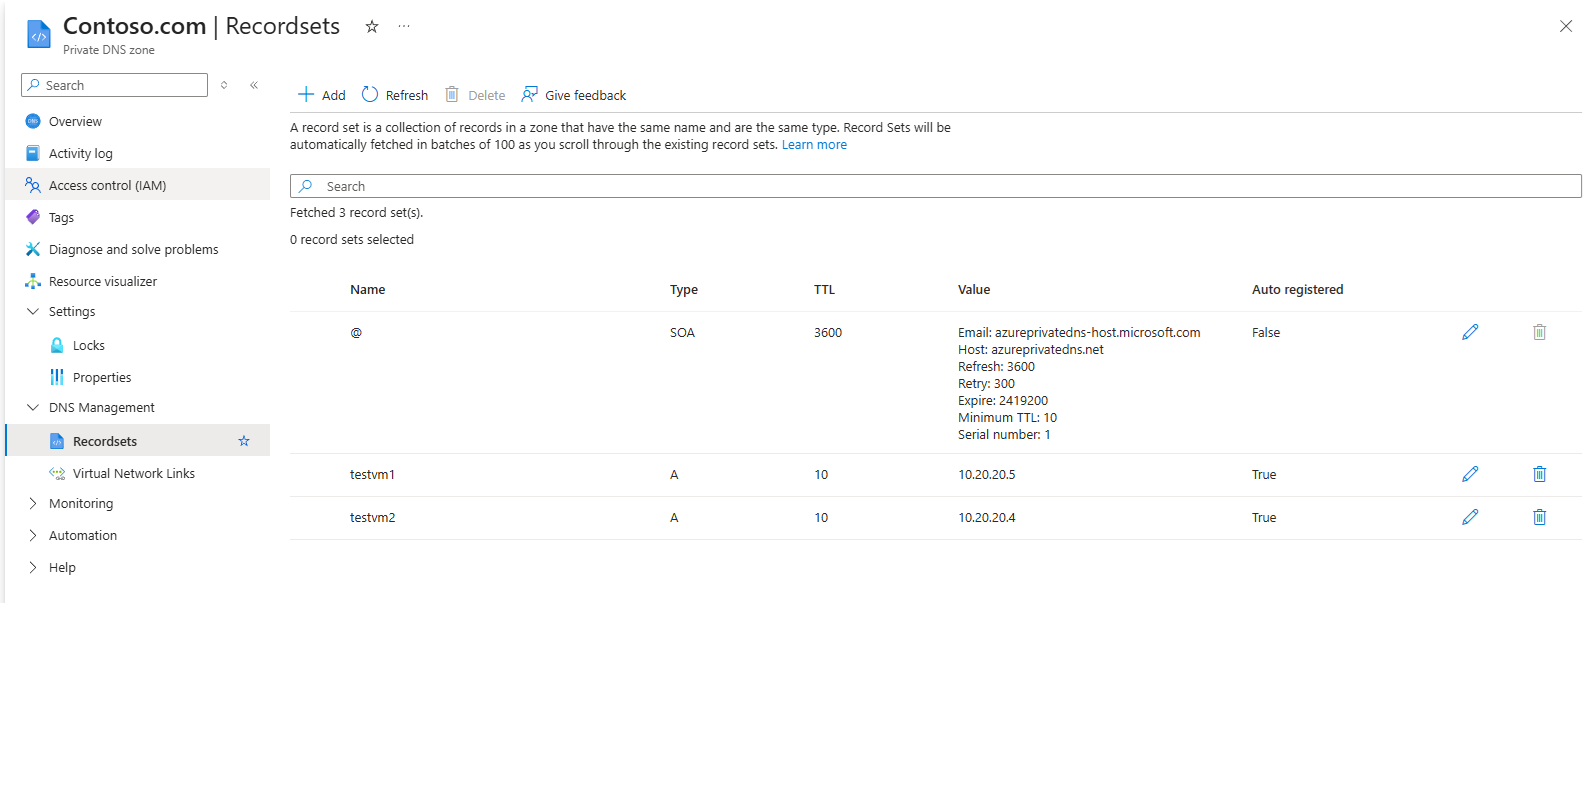
- Make a note of the names and IP addresses of the VMs.
Connect to the Test VMs using RDP
-
On the Azure Portal home page, select Virtual Machines.
-
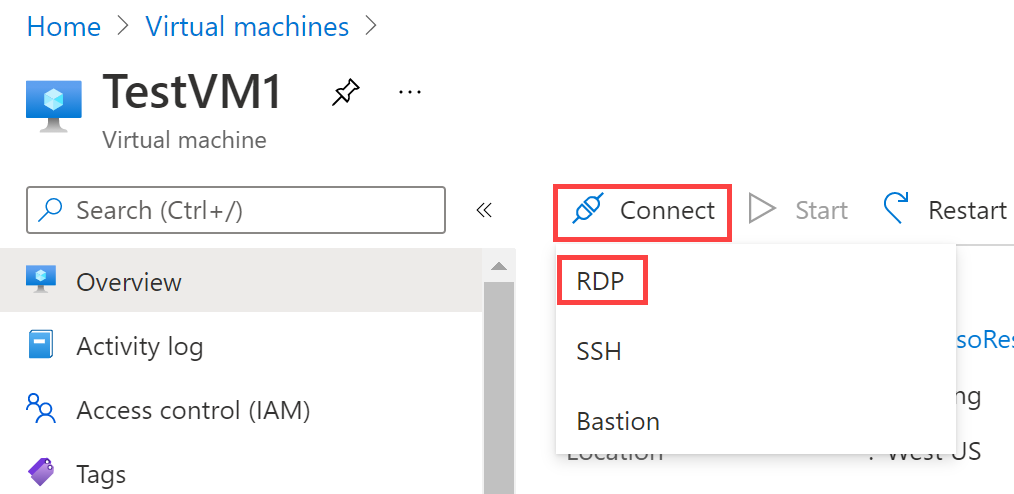
Select TestVM1.
-
On TestVM1, select Connect > Connect.
-
On TestVM1 | Connect, select Download RDP file.
-
Select keep if prompted
-
On the Azure Portal home page, select Virtual Machines.
-
Select TestVM2.
-
On TestVM2, select Connect > Connect.
-
On TestVM2 | Connect, select Download RDP file.
-
Select keep if prompted
-
Connect to TestVM1 using the RDP file, and the username TestUser and the password Pa55w.rd1234abc.
-
If prompted, in Networks, select Yes.
-
On TestVM1, open a PowerShell console and enter the command ipconfig /all.
-
Verify that the IP address is the same as the one you noted in the DNS zone.
-
Enter the command ping TestVM2.contoso.com.
-
Verify that the FQDN resolves to the IP address that you noted in the Private DNS zone. The ping itself will timeout because of the Windows Firewall that is enabled on the VMs.
-
Enter the command Test-NetConnection -Computername TestVM2.Contoso.com -port 3389 and verify that you receive a successful name resolution record and TcpTestSucceeded : True response from TestVM2
Congratulations! You have created a private DNS Zone, added a name resolution and auto-registration link, and tested name resolution in your configuration.
Note: Do not Delete any resources: you will use them in the next LAB Exercise.